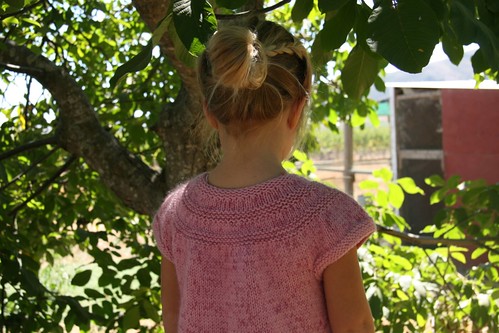
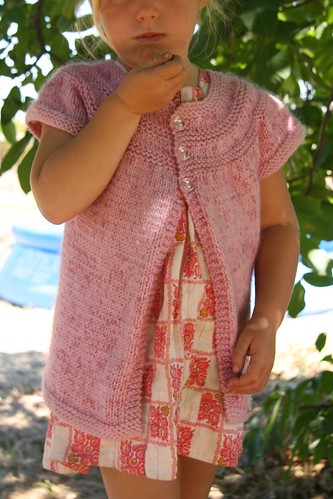
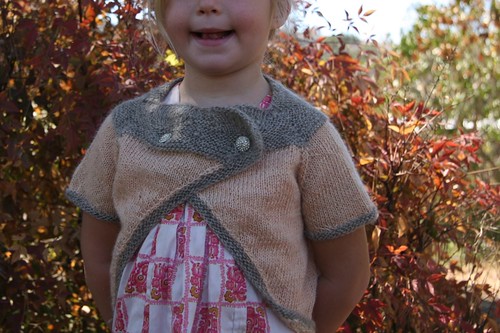
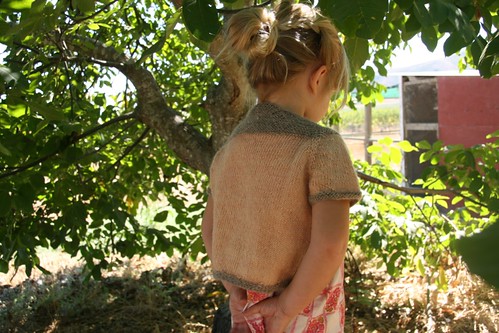
 (pardon for the wonky iphone pictures…was traveling light that day!)
Last Sunday was our twelve year anniversary. We debated a bit about what we were going to do to celebrate. We aren’t very good about finding babysitters. I know some of our friends always have a few regular babysitters to work from, but our parenting talents apparently lay elsewhere, because we’ve just never been very good at finding and keeping them. Luckily, for the most part, we enjoy being around our children, so we packed them all into the car and headed off to show them what our pre-baby dates used to look like.
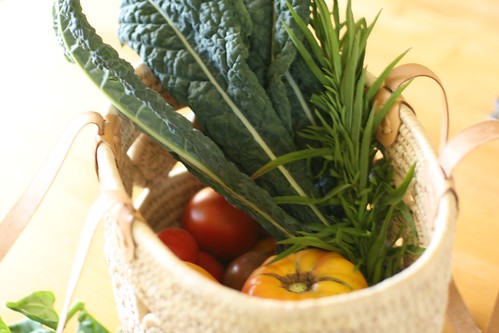
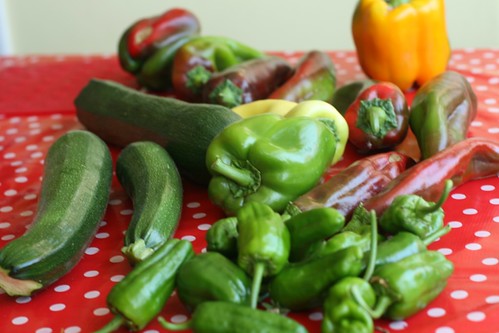
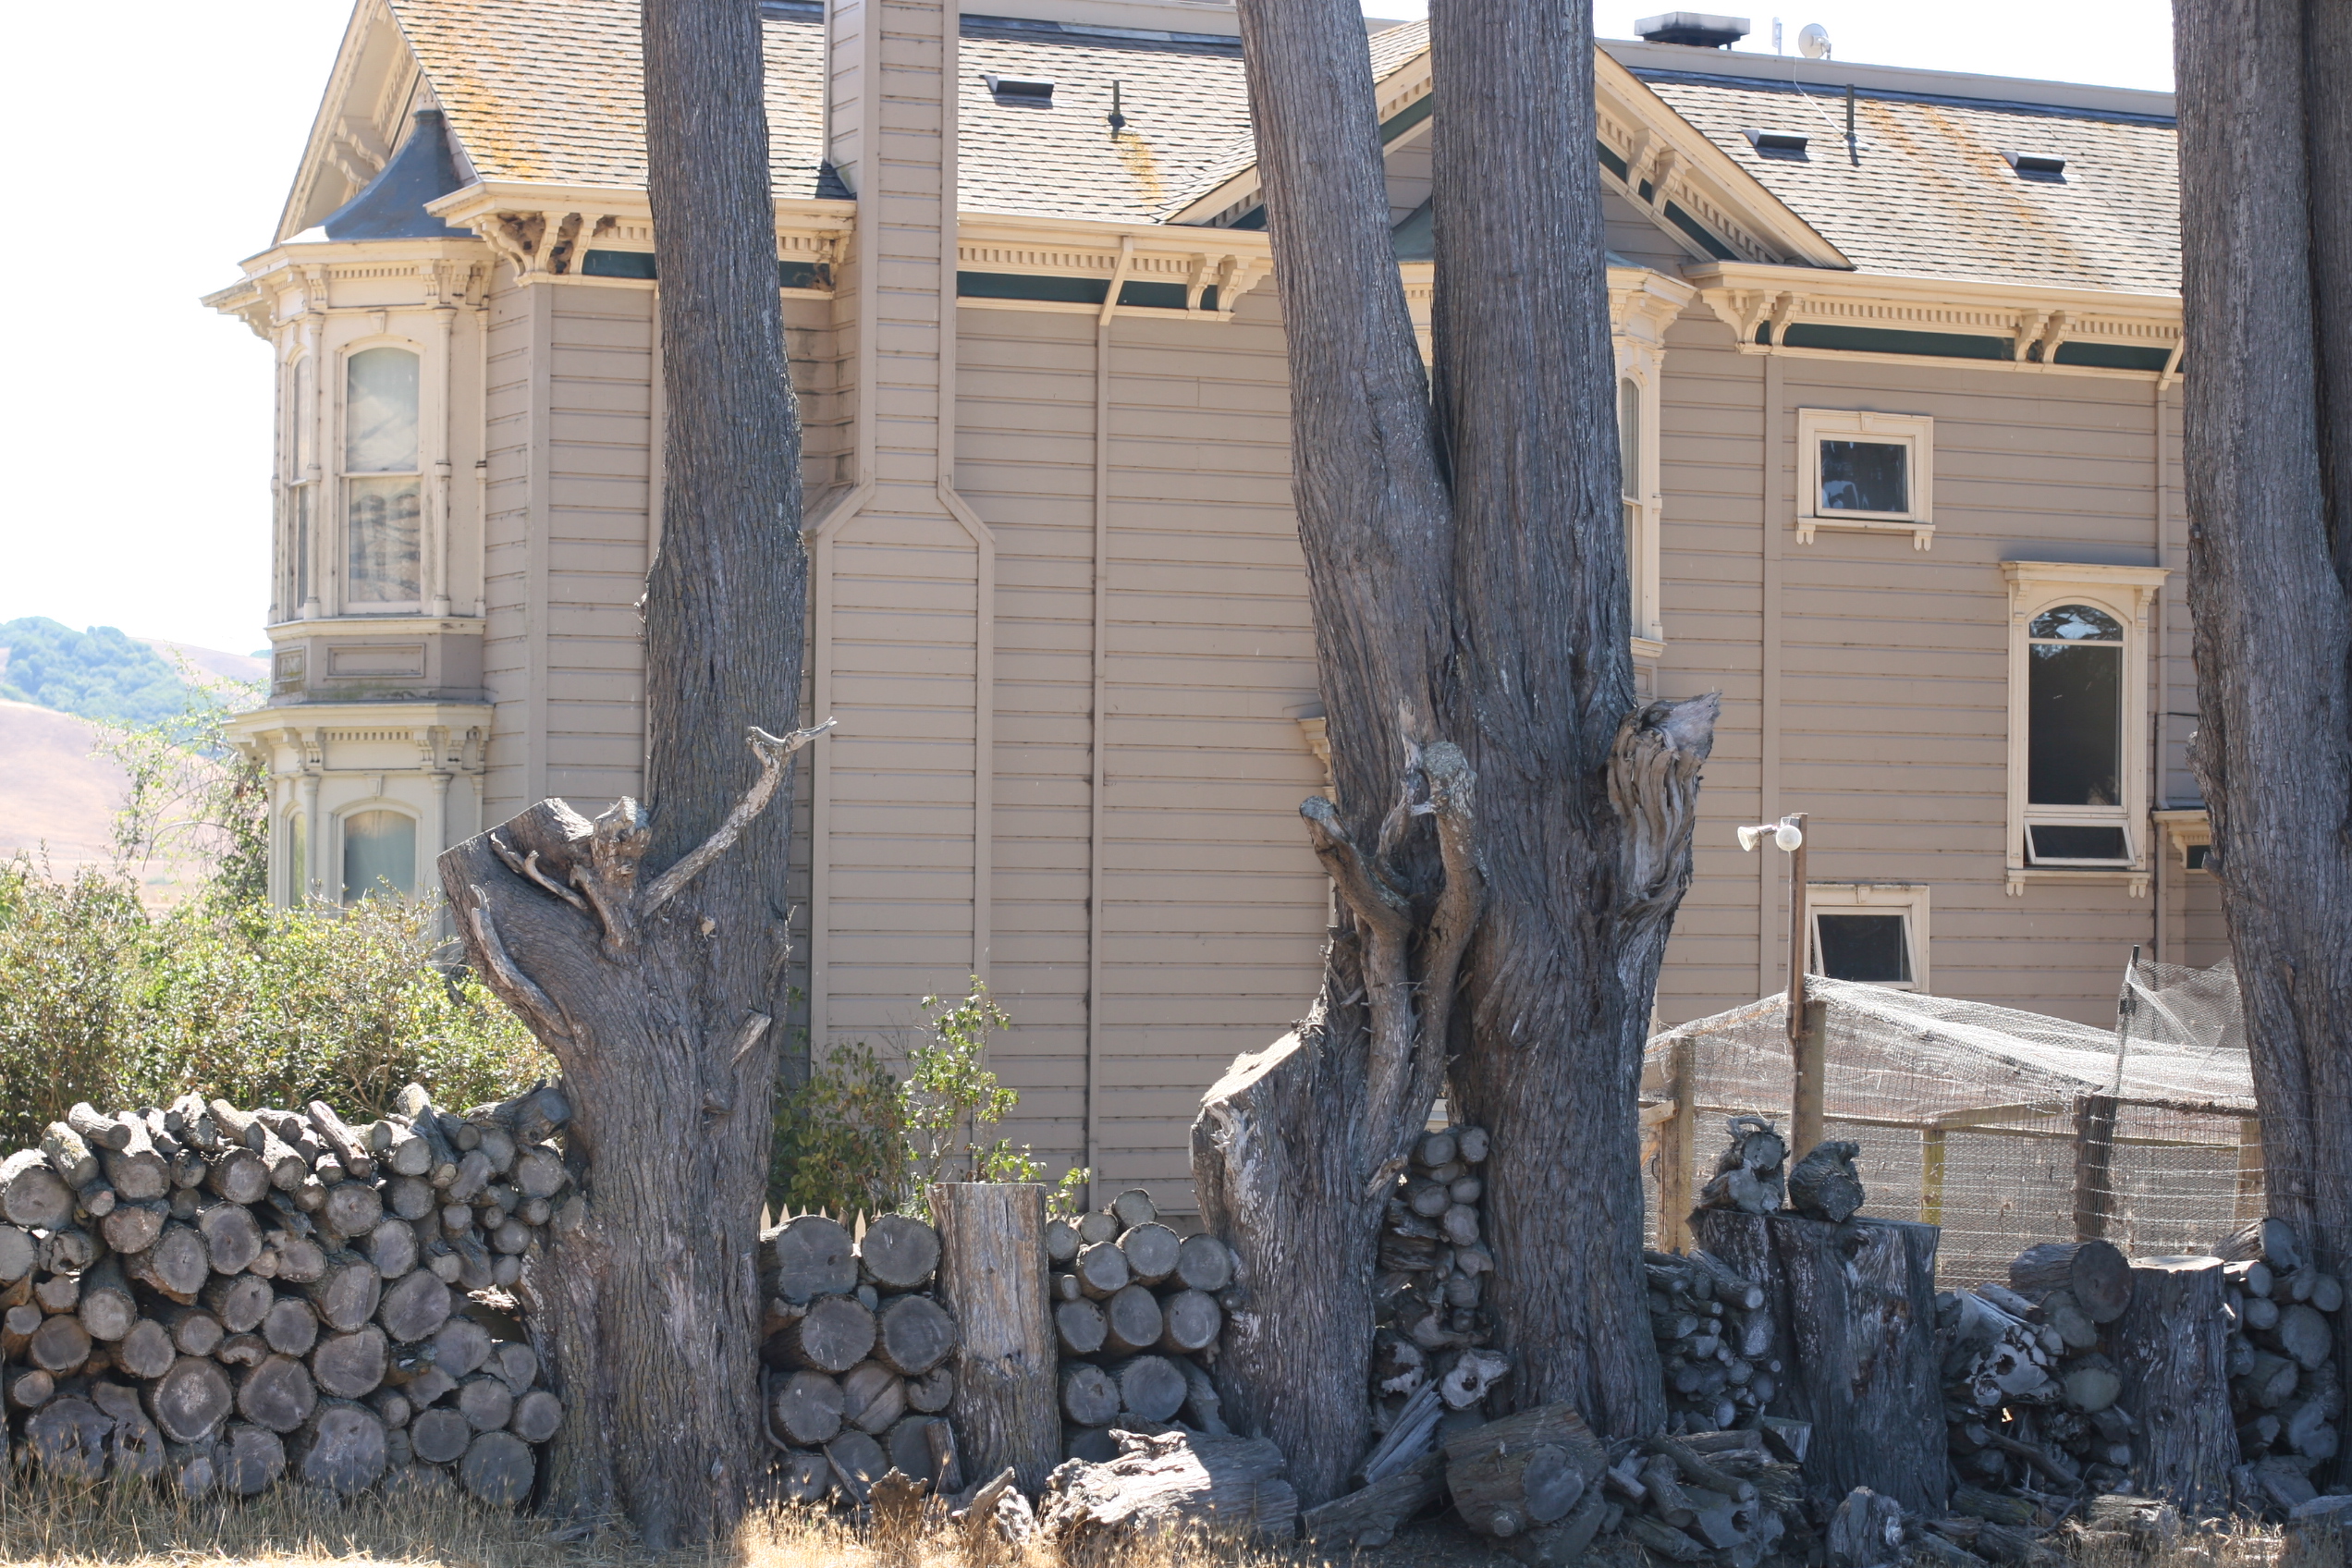
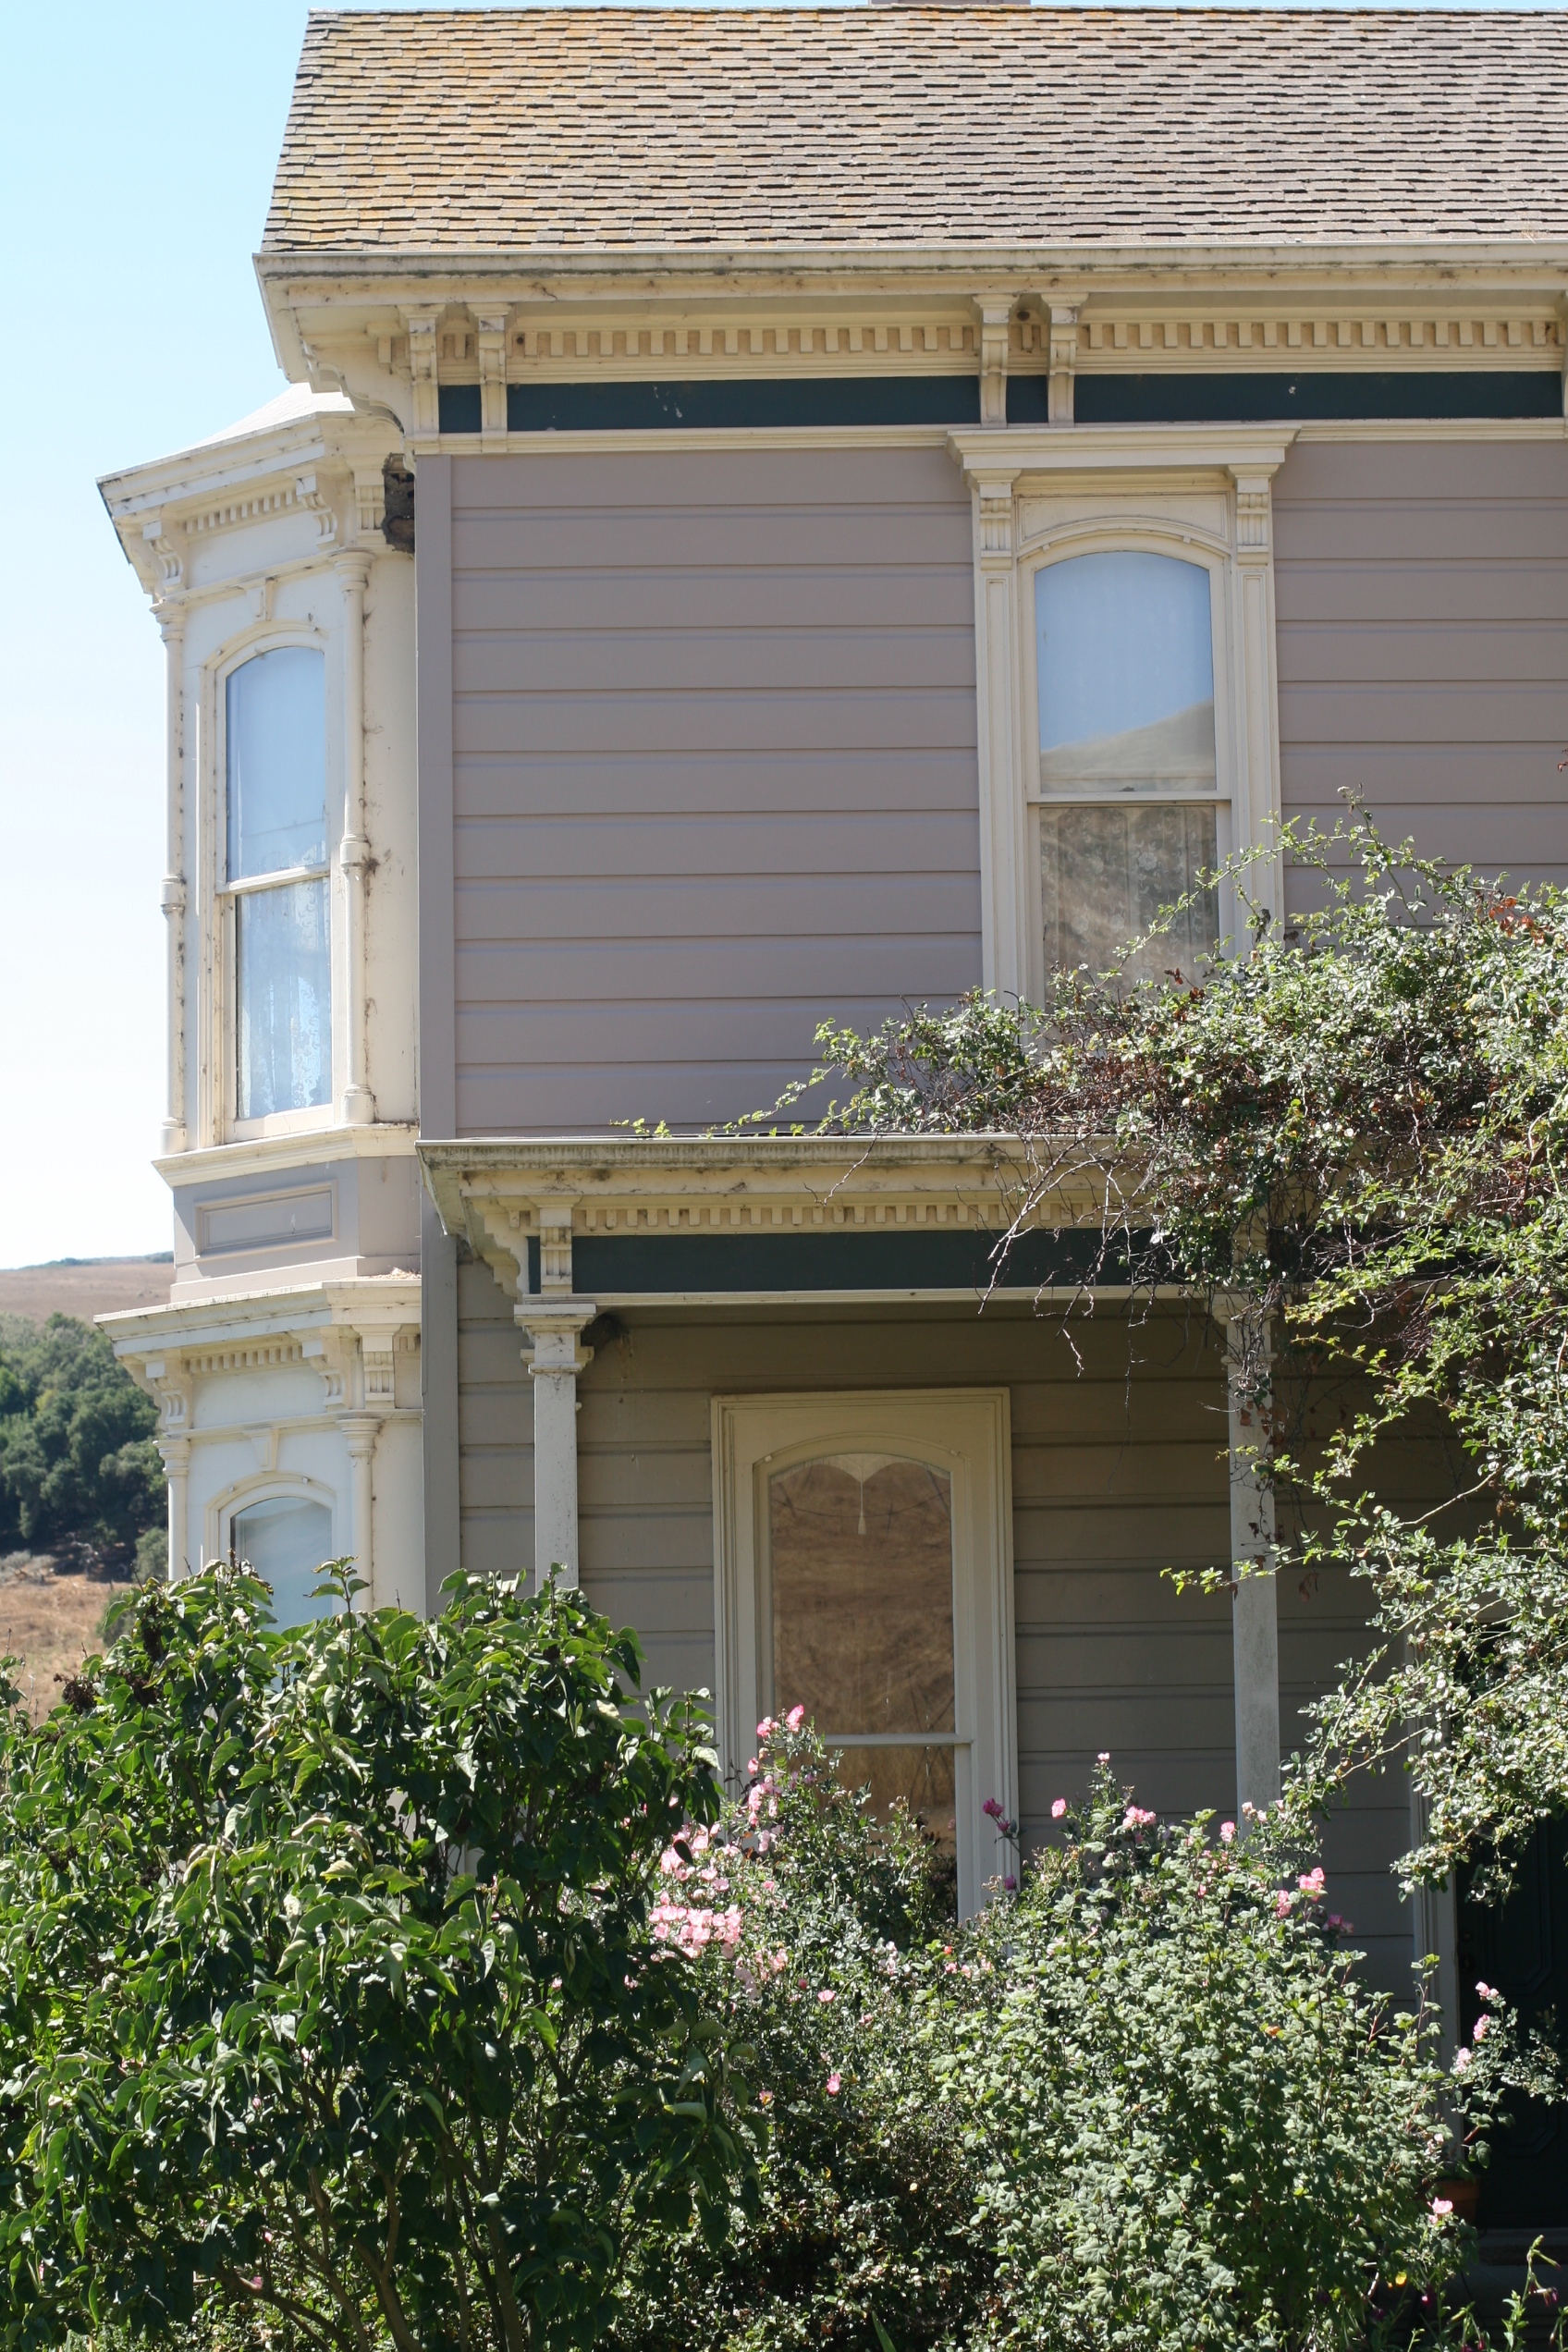
Before our marriage we lived in Marin County, the county just north of the Golden Gate Bridge above San Francisco (for those not local) and our date days used to consist of hopping in the car and driving out to the coast to escape roommates and responsibility. We’d slowly drive around stopping where we like and always gathering food for dinner. Just as we did 12+ years ago, we made a morning stop at Two Bird Café for a cozy breakfast. Then out to Point Reyes Station to hunt through all the unique little shops. The bookstore there is one of the few bookstores left that leaves me feeling inspired about books and reading, I don’t know what it is about that store, or how they organize it, but I could spend hours there. Haven’t you felt that too? There’s just some sort of magic in certain bookstores, isn’t there? Not in all of them, just certain ones. In efforts to support them, we always buy a handful of books, this time Home Grown by Ben Hewitt and California Foraging
 were in our stack. I’ll let you know how they are.
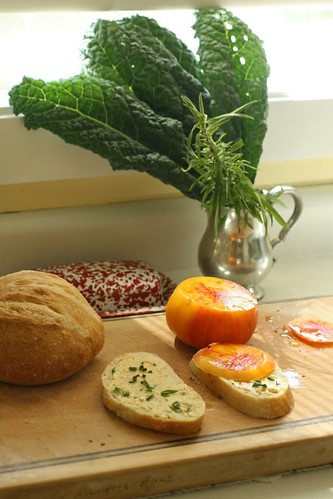
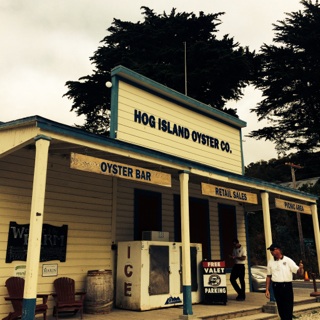
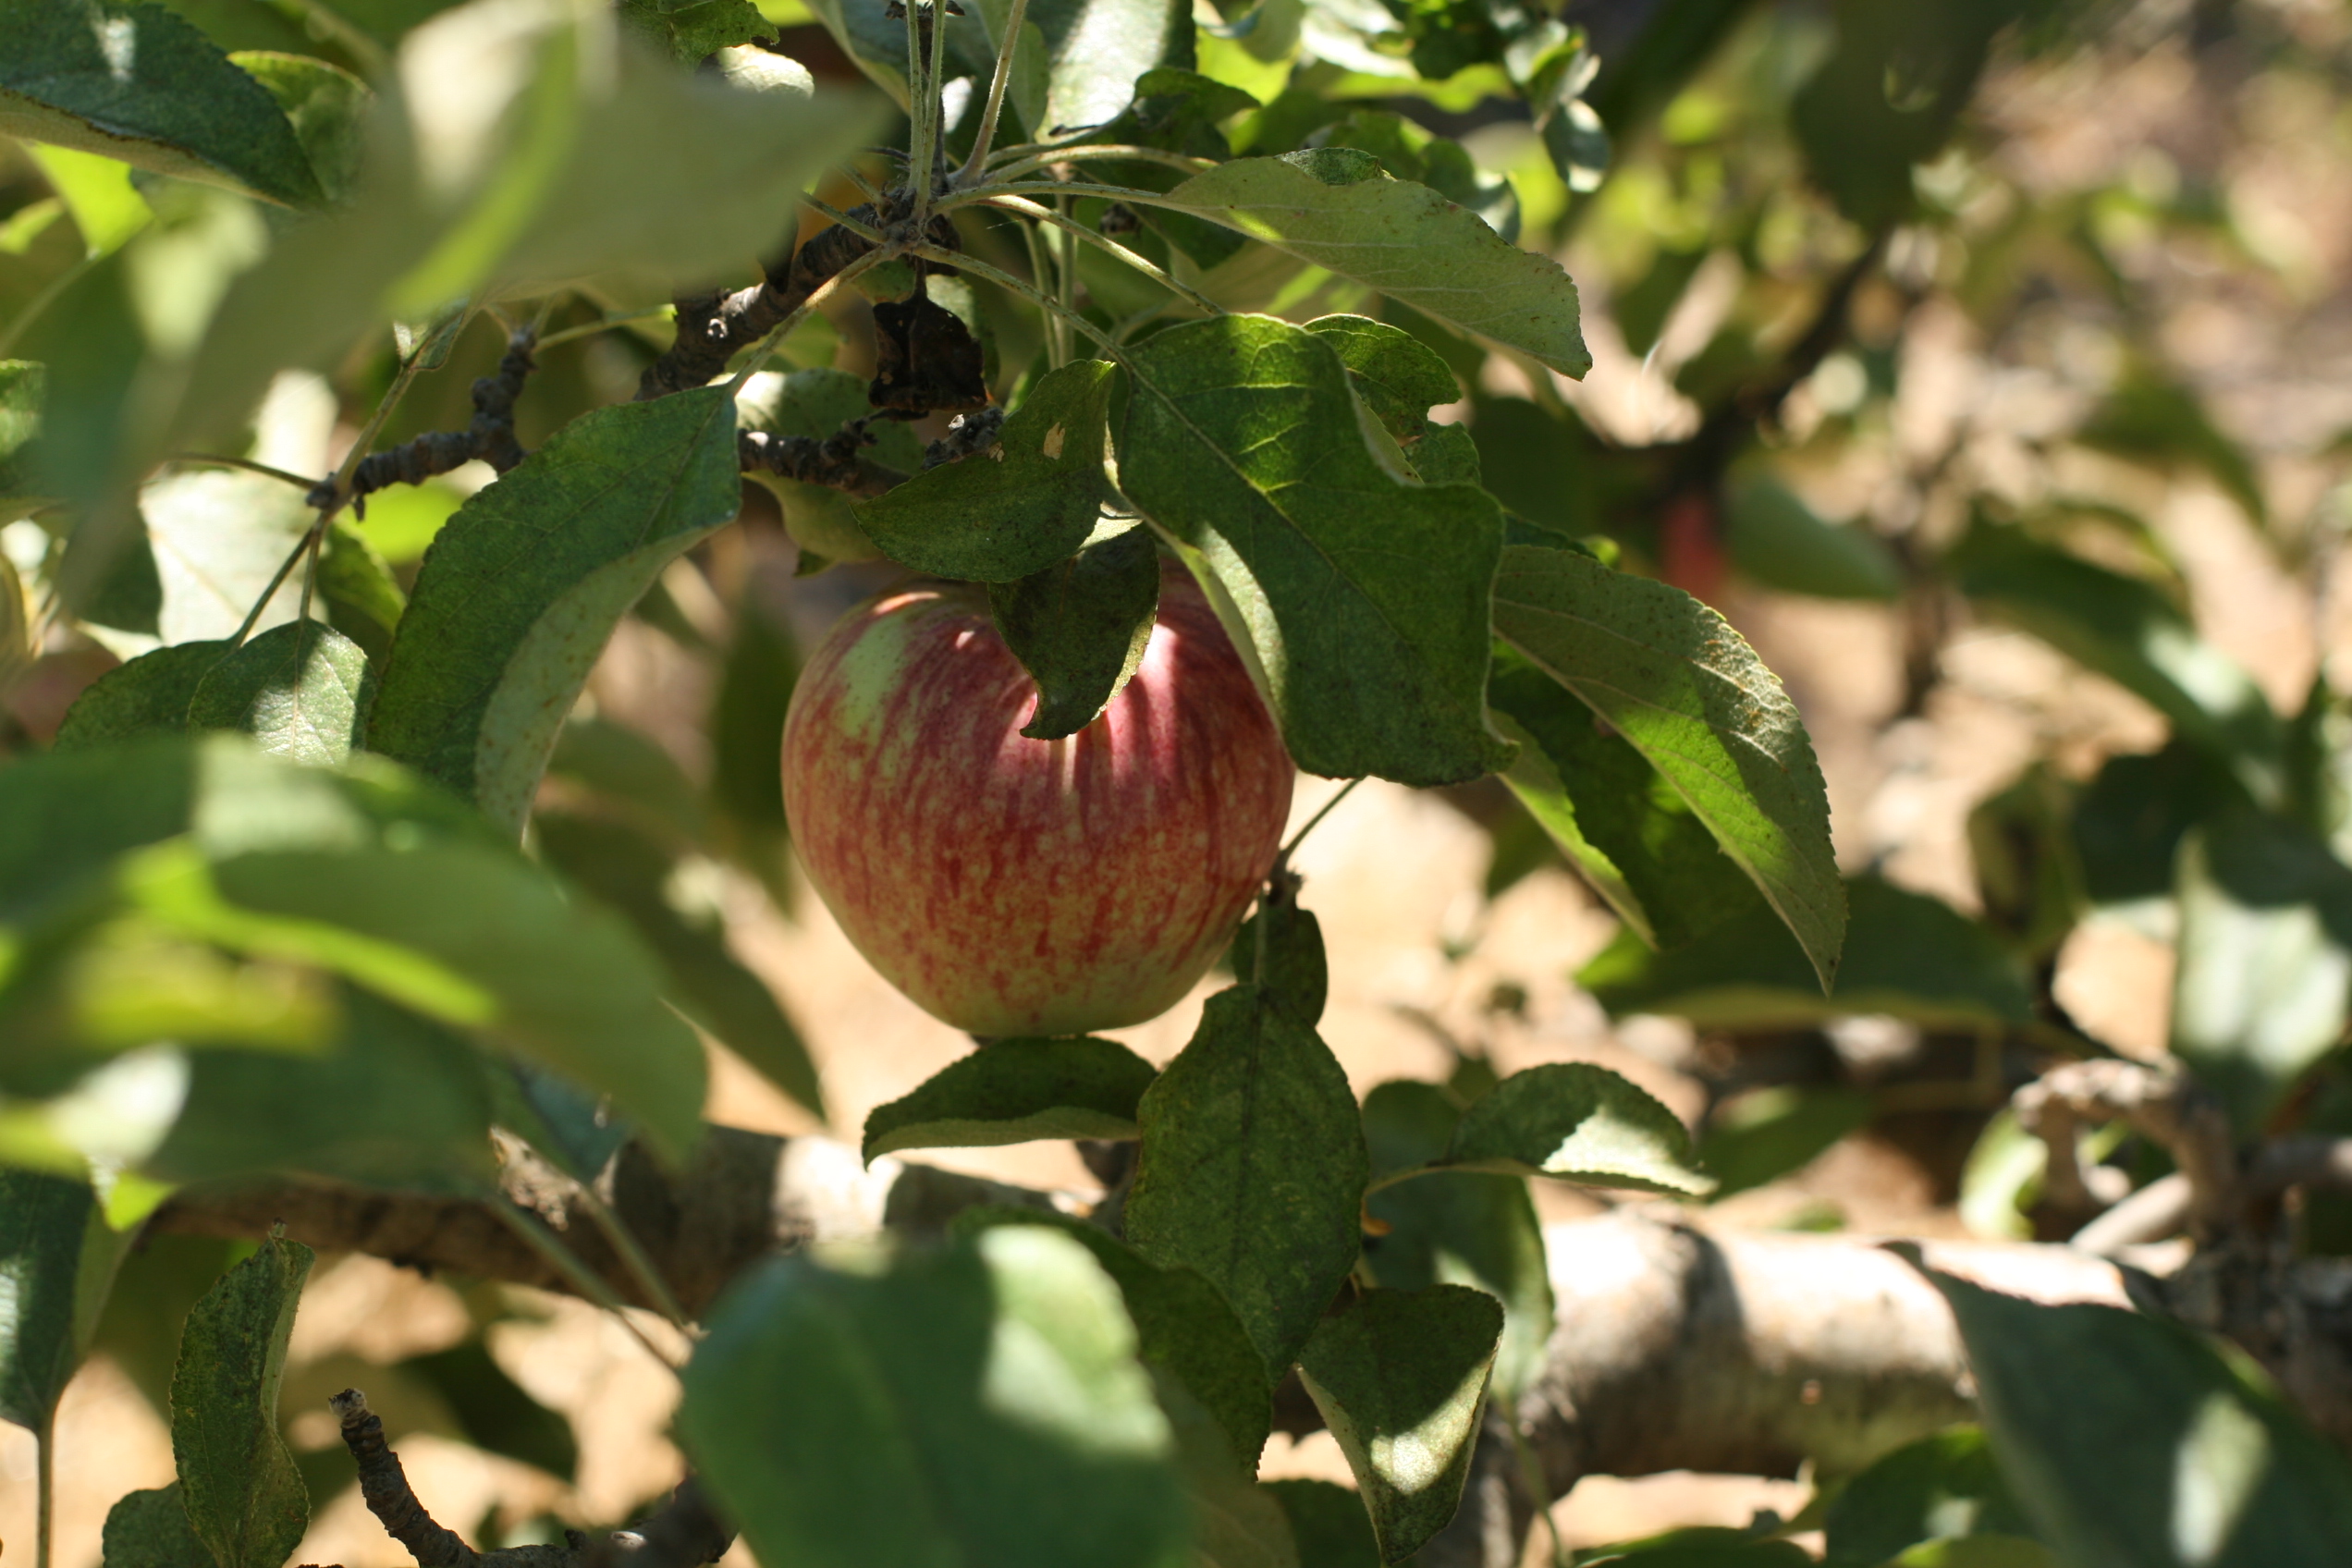
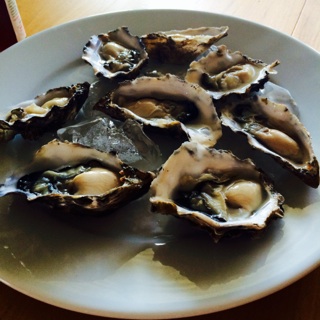
Once we tired of all the quaintness of that town, we headed up the coast to Hog Island Oysters. That whole stretch of the coast, in fact all of West Marin, is one of my favorite spots on earth. It’s just so beautiful. Once at the packed oyster farm we picked up 12 oysters and 2 pounds of manila clams for the cooler and headed further north to Tamales. With a bakery right in front of us, there was no other option but to get some brownies and coffee.
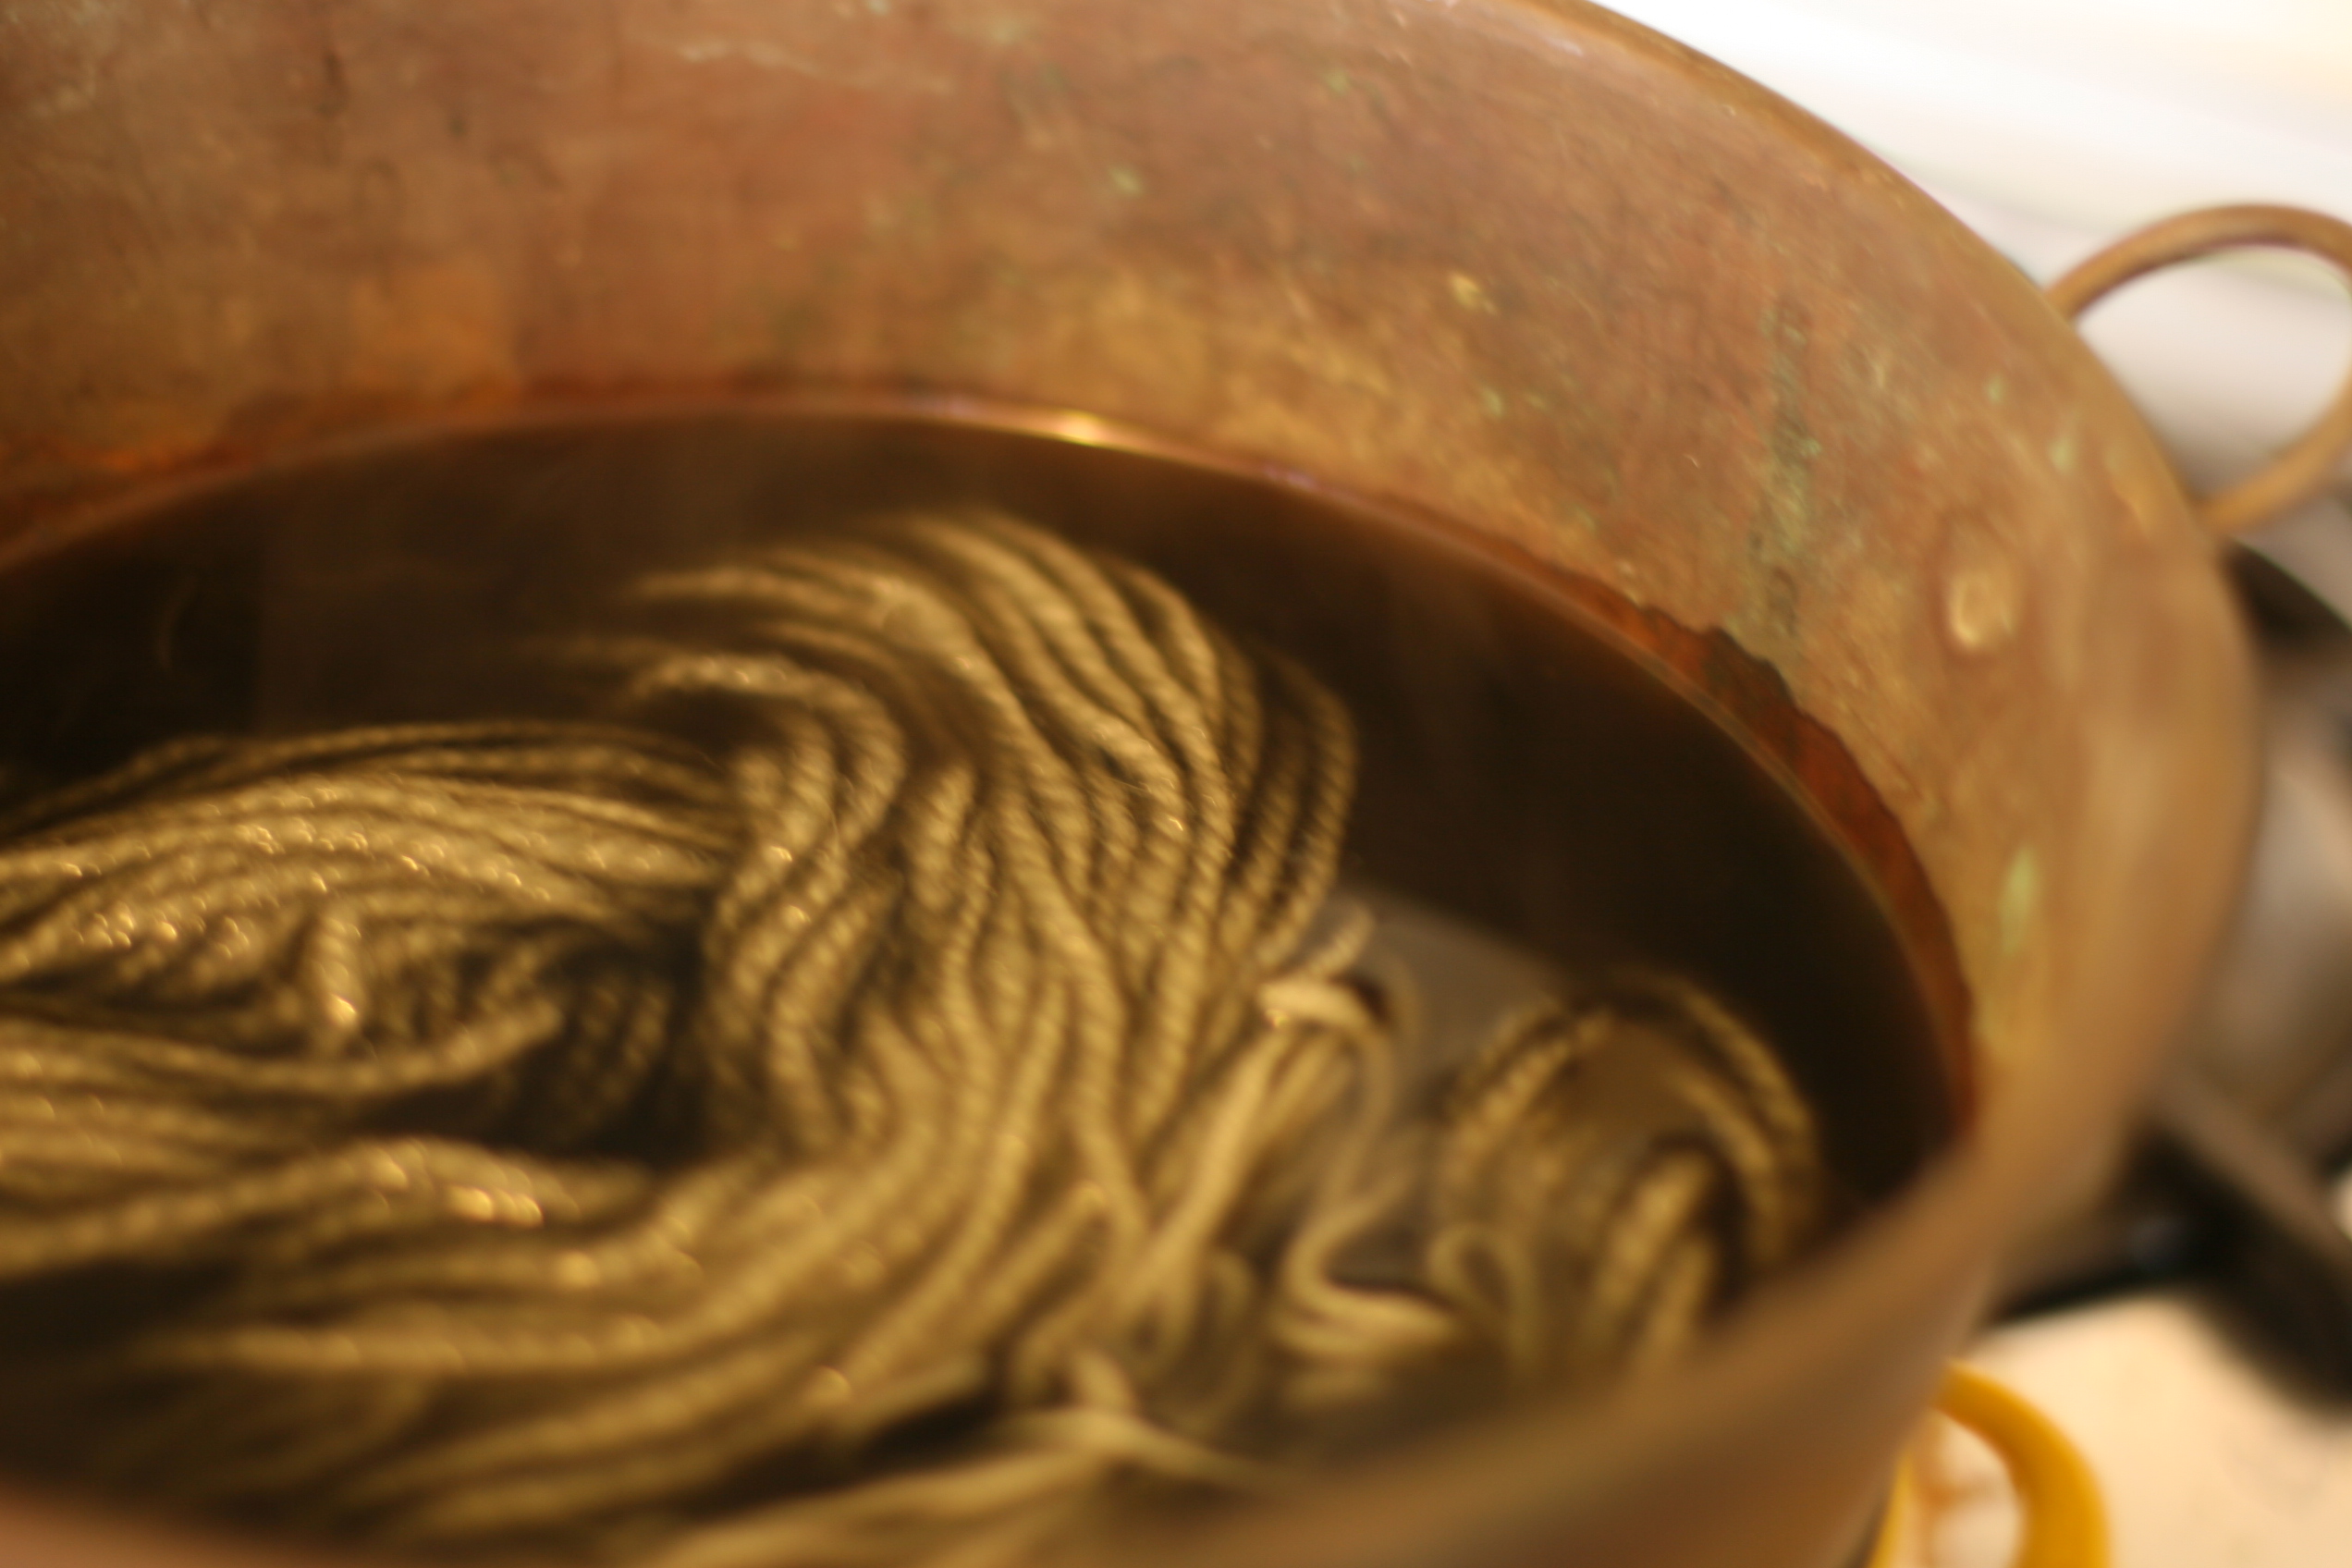
Then again up the highway we went with a jaunt over to Valley Ford to check out their Wool Mill. We saw them at the Heirloom festival the other week and couldn’t get their wool pillows out of our heads. We haven’t been sleeping well lately. None of us. Our oldest, who’s 10, has been complaining that most nights, when he lays down his asthma starts to bother him. Since wool doesn’t harbor dust mites (which he’s allergic to) we thought we’d pick one up for him. Scott’s internal temperature always runs warm, he’s always hot at night so he wanted to try a wool pillow too, since strangely enough it actually feels cooler than our synthetic pillows. Both our son and Scott have commented that they’ve slept much better the past few nights on these pillows. It’s tempting me to drive back and pick up three more pillows. They aren’t cheap though, so we might space out that purchase a bit. After feeling their comfy display bed, made completely of wool products, I’m having woolly dreams.
After our pillow purchase we headed back home, just in time to make dinner. One thing I have never regretted in these past twelve years was that I married a cook. His dinners are almost always better than anything we could find in any restaurant. I was proud to see that all our children tried the oysters and they went absolutely wild over the clams. We never force food upon our children, nor do we make them special meals to cater to their pickiness. We just ask that they always try the food in front of them. At least one tiny bite, taste buds change, you never know if you’ll like it today or not.
All in all, it was a perfect way to celebrate a dozen years of being together.